What you need. A Mac with Apple Silicon (M1 or newer) running macOS 15 or later, a few gigabytes free for the recognition model, and an internet connection once — to download the app and the model. After that Altypist works with the Wi-Fi off.
Step 1 · Download and open the disk image
- Click Try free for 7 days anywhere on this site. Your browser
downloads
Altypist.dmg. - Open the downloaded file. A window appears with the Altypist icon.
- Drag Altypist into your Applications folder.
- Eject the disk image, and open Altypist from Applications or Launchpad.
The first time you open it, macOS says the app was downloaded from the internet and asks whether you are sure. Click Open. Altypist is signed with an Apple Developer ID and notarised by Apple, so this is the ordinary one-line prompt — not the “cannot be opened because the developer cannot be verified” warning. If you do see that warning, the download was corrupted; delete it and download again.
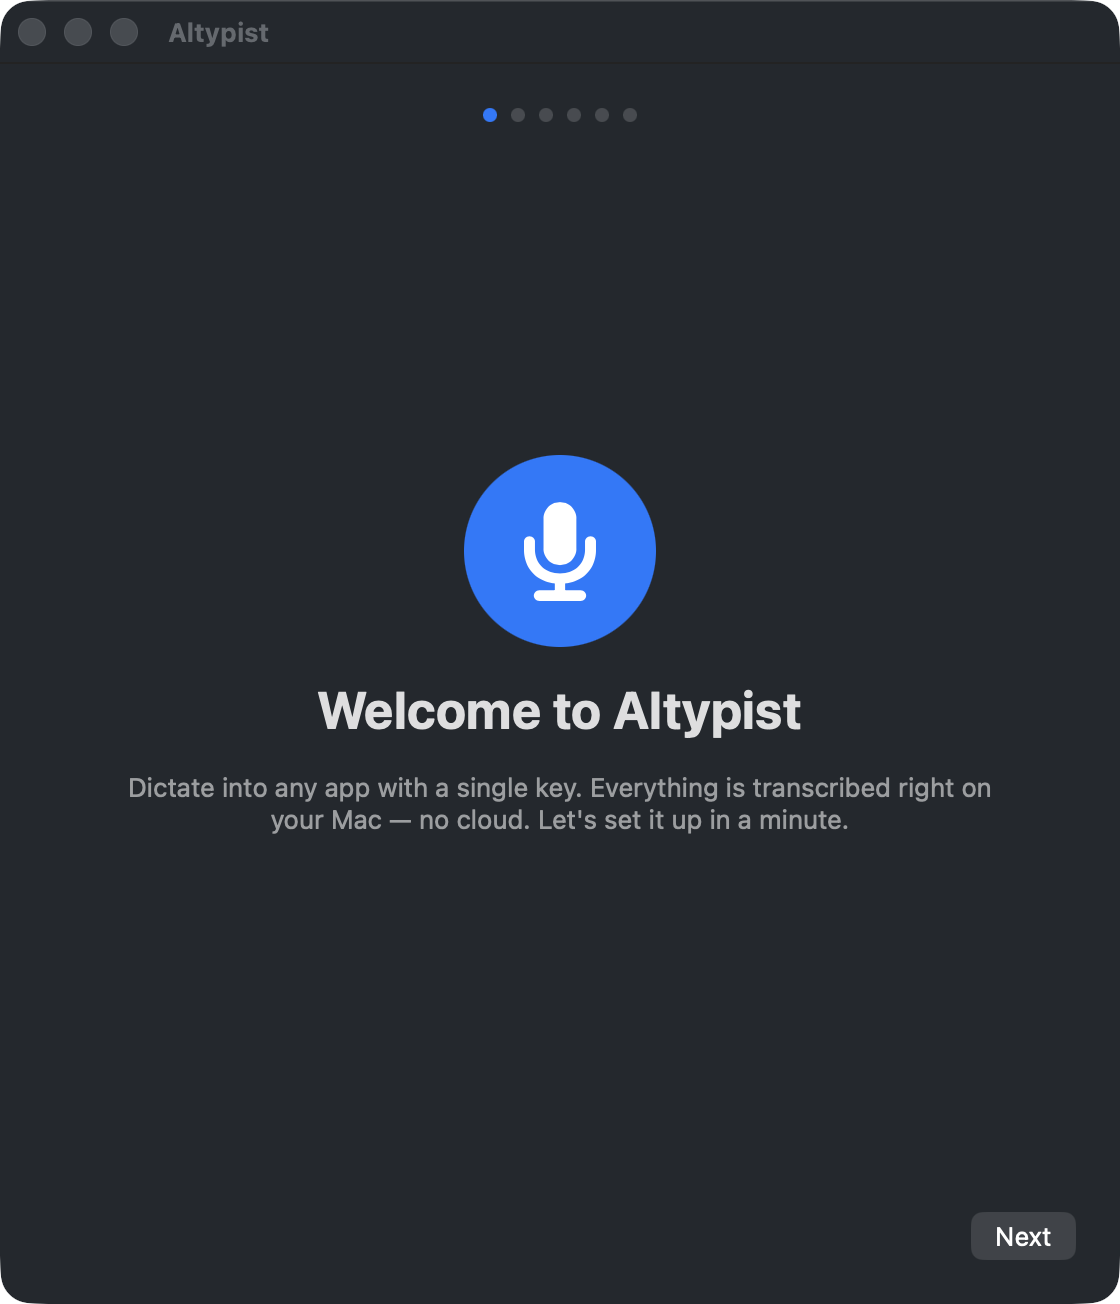
Step 2 · Welcome
Altypist opens a six-step setup. The dots at the top show where you are; every step has Back, so nothing here is a one-way door.
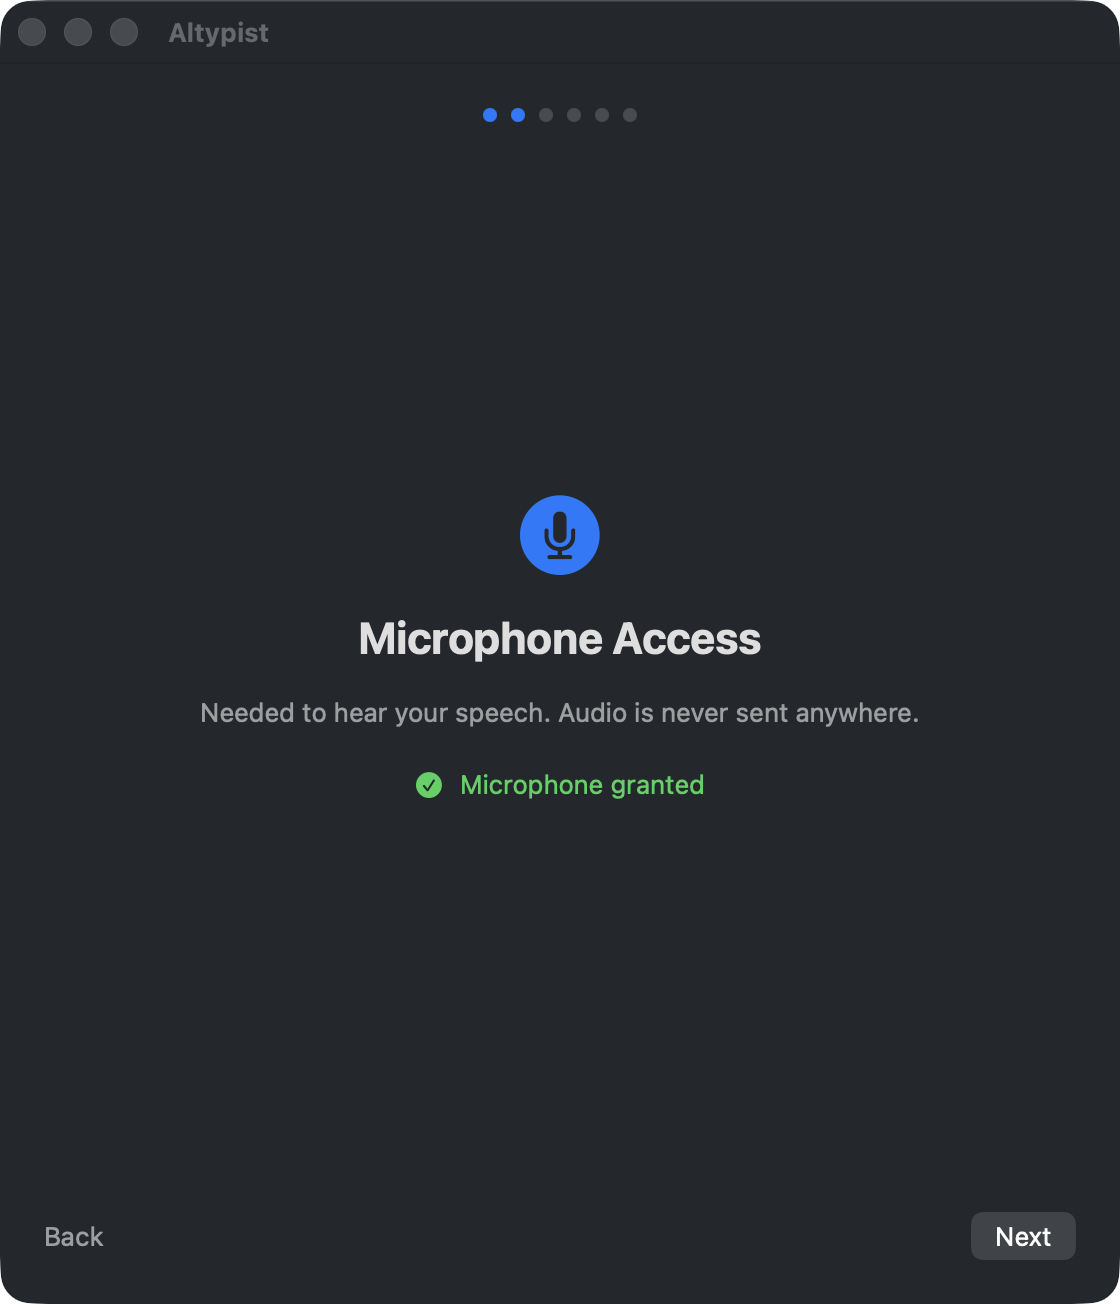
Step 3 · Microphone access
macOS asks for this in its own dialog — click Allow when it appears. Altypist needs the microphone for the obvious reason, and the audio is never sent anywhere; it is transcribed on your Mac and then discarded.
Step 4 · Accessibility access
This is the permission that lets Altypist type the finished text into whatever field your cursor is in. macOS does not allow an app to grant it from a dialog box, so the step opens System Settings → Privacy & Security → Accessibility, where you switch Altypist on yourself. Then come back to the setup window; it notices.
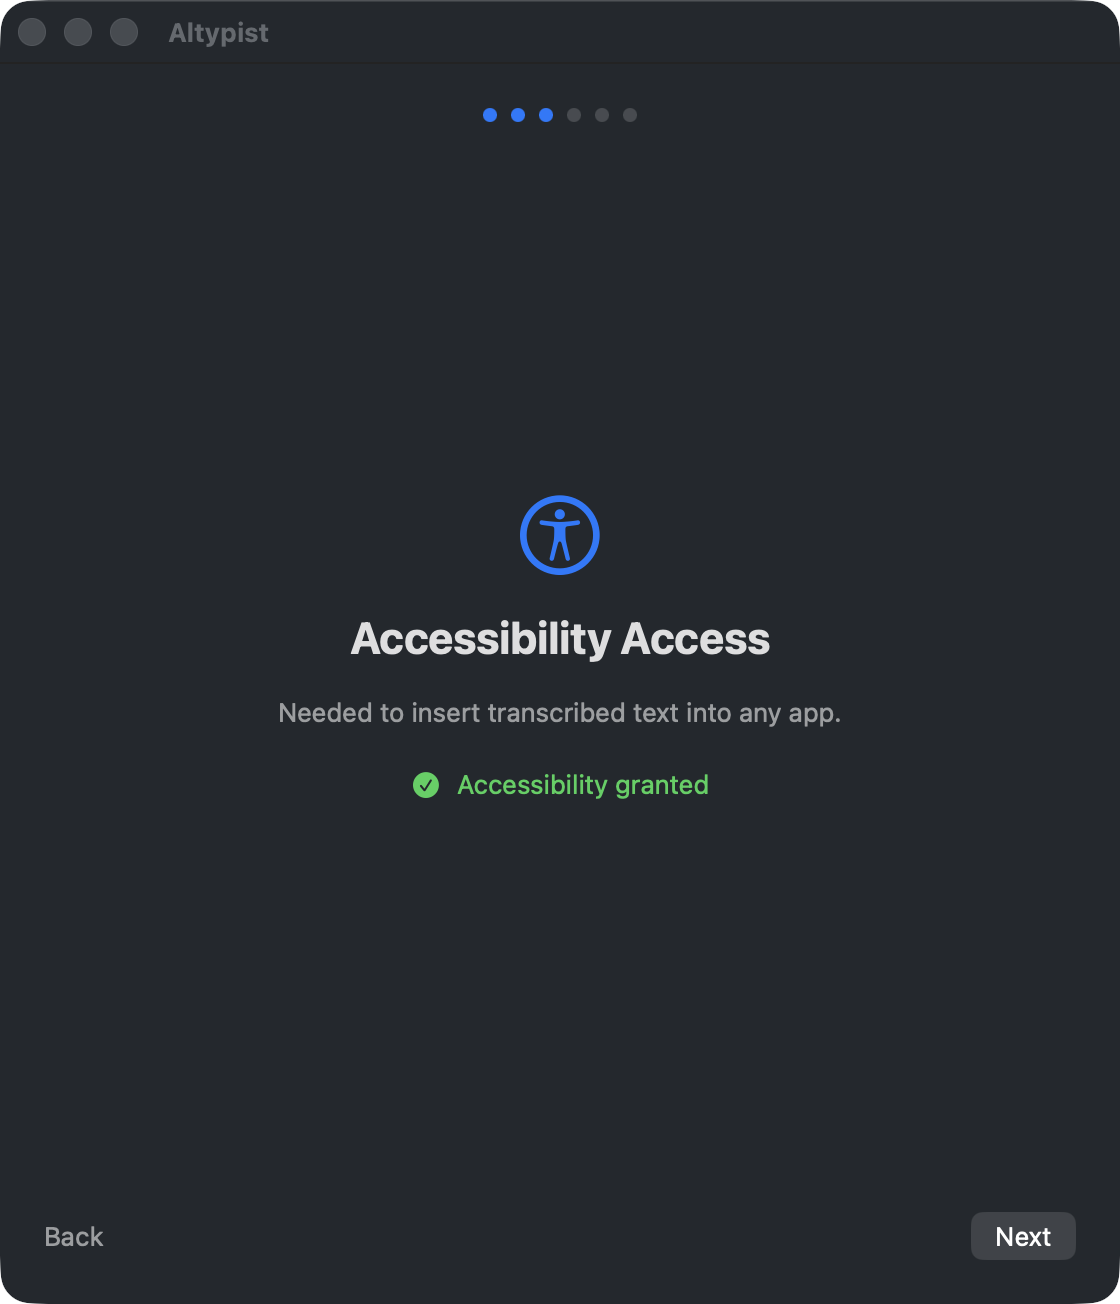
If you would rather not grant it, Altypist still works: it falls back to putting the text on your clipboard for you to paste. Insertion at the cursor is nicer, but the choice is yours, and you can change it later in Settings → Permissions.
Step 5 · Choose a recognition model
The model is what turns your speech into text, and it runs on your Mac. It downloads once, here, and works offline afterwards. Three choices, and the numbers are on the screen so you can decide for yourself rather than trust an adjective:
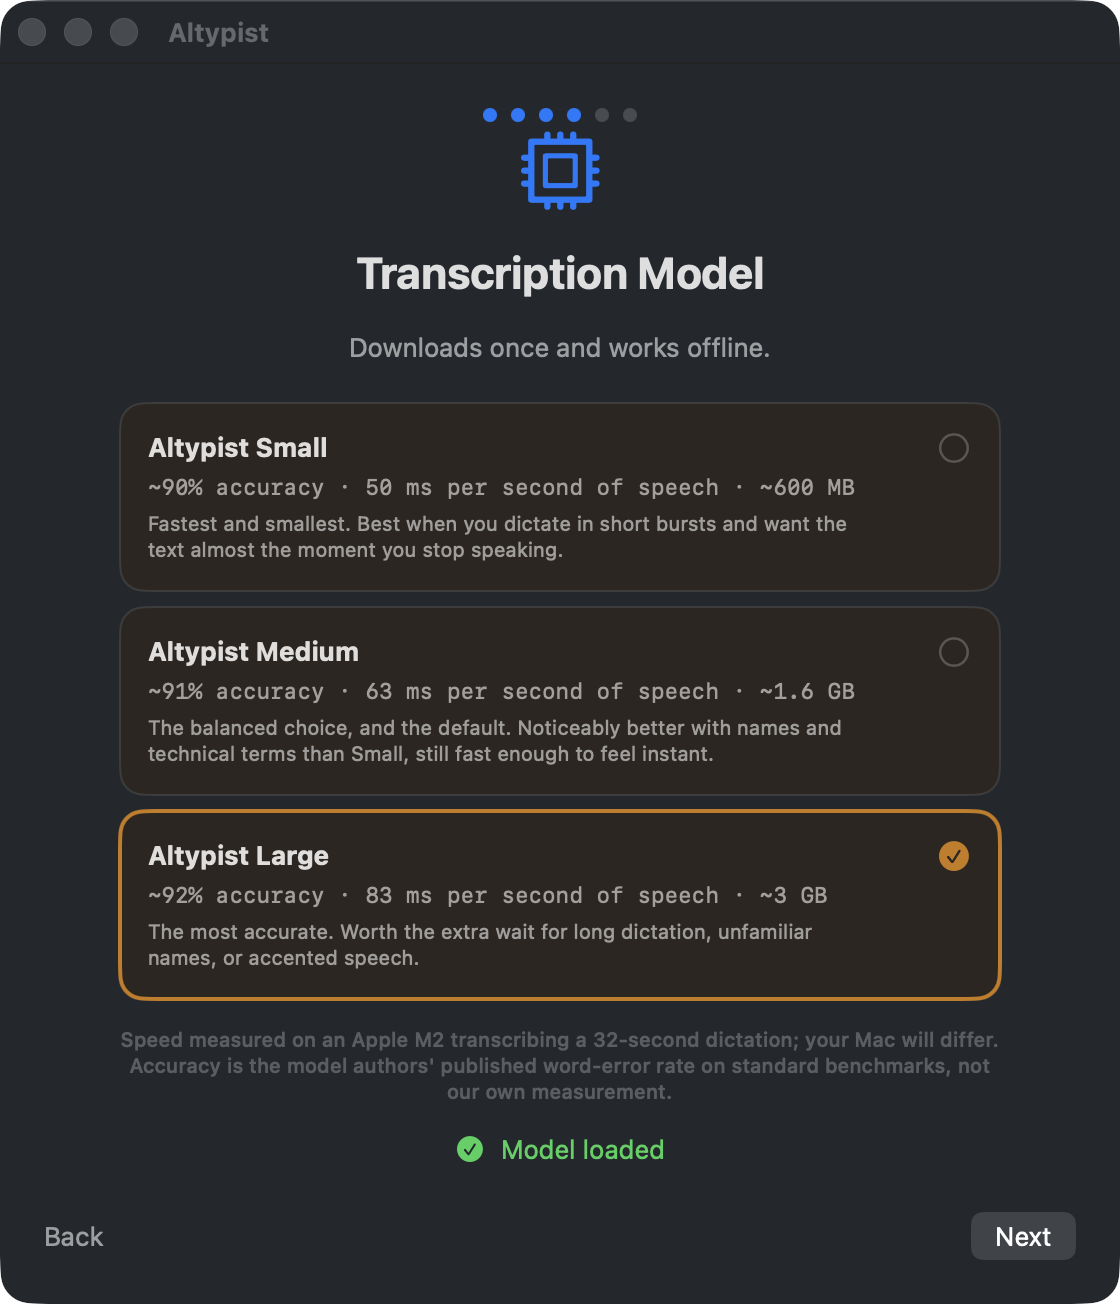
| Model | Download | Pick it when |
|---|---|---|
| Altypist Small | ~600 MB | You dictate in short bursts and want the text almost the moment you stop talking. |
| Altypist Medium | ~1.6 GB | The default. Noticeably better with names and technical terms than Small, still fast enough to feel instant. |
| Altypist Large | ~3 GB | Long dictation, unfamiliar names, or accented speech. The most accurate, and worth the extra wait. |
Download times depend on your connection — a 1.6 GB model over a slow link is the one part of this guide that is not measured in seconds. The progress bar on this screen is the download; if it stalls, Retry download is right underneath it.
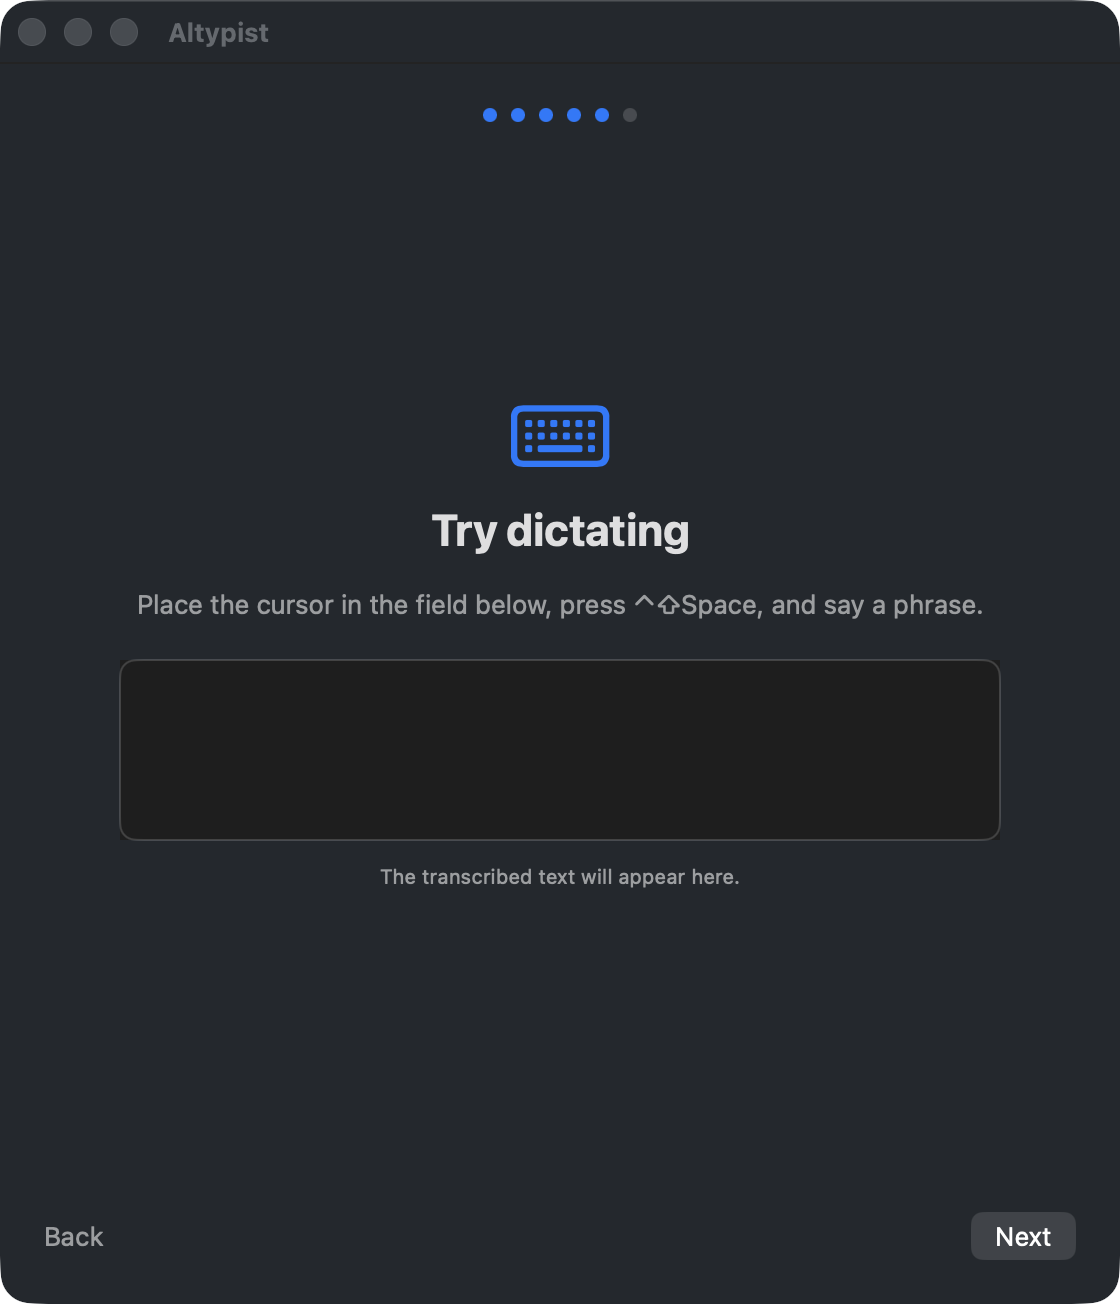
Step 6 · Try it, right there
The setup gives you a text box so your first dictation happens somewhere harmless rather than in a real document. Put the cursor in the box, press ⌃⇧Space, say a sentence, then press it again.
Step 7 · Done — and where Altypist went
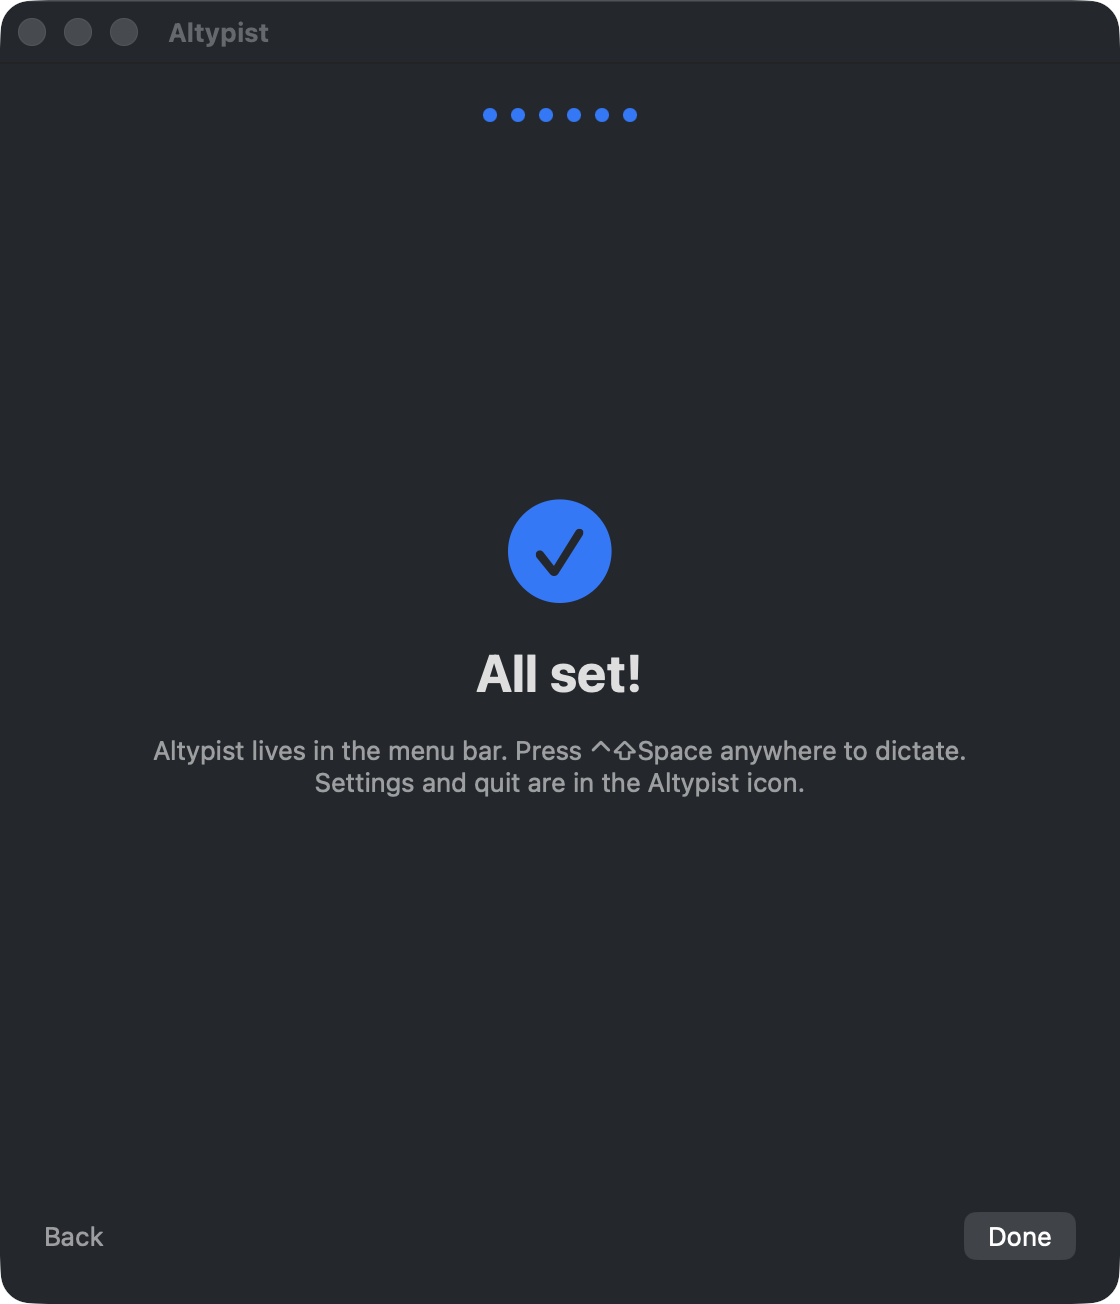
Altypist has no Dock icon on purpose — it is a menu bar app. Click its icon in the menu bar at the top of the screen and you get everything you need day to day:
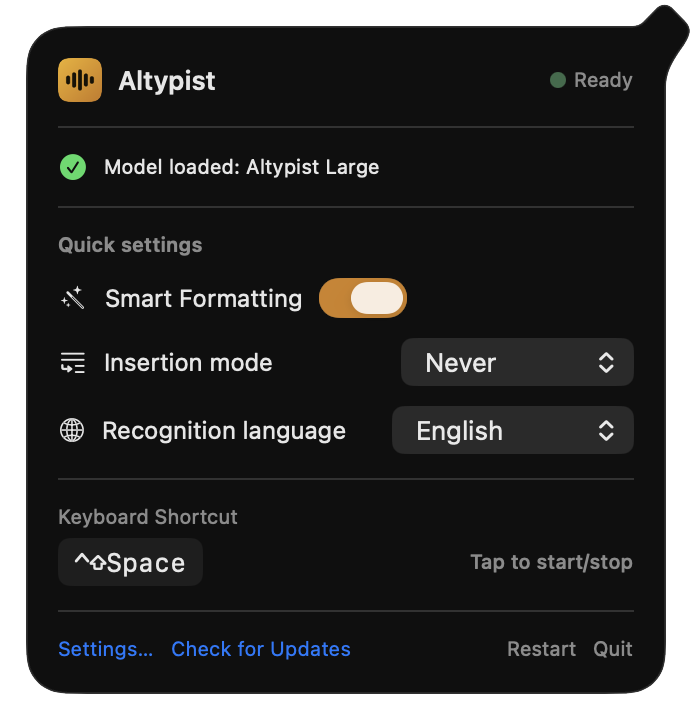
- Ready and Model loaded — the two things worth knowing before you start talking.
- Smart Formatting — punctuation, lists and filler-word cleanup, applied by a second model that also runs on your Mac. Switch it off and you get the raw transcript.
- Insertion mode — whether text appears while you are still talking or all at once when you finish. Never means the latter, which is the default and what most people want.
- Recognition language — the language you are speaking, not the language of the interface.
- Keyboard Shortcut — the current one, with a reminder that you tap it rather than hold it.
The keyboard shortcut, in detail
This is the whole interface most days, so it is worth two minutes.
What it does
The default is ⌃⇧Space — Control, Shift and the space bar together. It is a tap, not a hold:
- Press it once. Recording starts, and the floating pill on screen shows a live level meter so you can see that you are being heard.
- Speak. Take as long as you like; there is no time limit.
- Press it again. Recording stops and recognition runs — the pill switches to scrolling characters while it works.
- The text is typed into whatever field your cursor was in.
Nothing is recorded between step 3 and your next step 1. There is no always-listening mode, and no wake word.
The presets
Settings → Keyboard Shortcuts offers four ready-made choices:
| Preset | Notes |
|---|---|
| 🌐 Globe | Our recommendation on a Mac that has one: a single key, and no combination to learn. It needs one change in macOS first — see below. |
| ⌃⇧Space | The default. Chosen because it collides with very little; ⌃Space alone is Spotlight and input-source switching, which is exactly why Shift is in there. |
| ⌥Space | The shortest two-key option. Check it against your launcher — Alfred and Raycast often claim it. |
| FnF5 | Useful if you keep the function row in its F-key mode. |
To use the Globe key, macOS has to stop using it itself: open System Settings → Keyboard, set Press 🌐 key to → Do Nothing, then pick 🌐 Globe Key in Altypist. The app shows this instruction next to the preset, so you do not have to remember it.
Or set your own
In Settings → Keyboard Shortcuts, click Change and press the combination you want — Altypist records the actual keystroke, so anything your keyboard can produce is available, with any mix of ⌃ ⌥ ⇧ ⌘. It takes effect immediately and survives restarts.
Two pieces of advice from testing. Prefer a modifier plus a key over a bare function key, or you will trigger dictation while reaching for something else. And pick something you can press with the hand that is not holding a pen — the point of dictation is that your hands are busy.
If a shortcut appears to do nothing, another app has almost certainly claimed it first: macOS gives the keystroke to whoever registered it, and does not tell either app about the conflict. Try a different combination before assuming Altypist is broken.
If something does not work
| What you see | What it is |
|---|---|
| The shortcut does nothing at all | Either Accessibility is off (Settings → Permissions will say so) or another app has claimed the same keystroke. Try a different combination first — it is the faster test. |
| Recording starts but no text arrives | Check that a model is loaded in the menu bar panel. On the very first run this is the model download finishing. |
| Text lands on the clipboard instead of in the field | That is the fallback when Accessibility is off, or when the app you are typing into does not expose its text field to macOS. Some Electron apps behave this way; paste with ⌘V. |
| No Altypist icon in the menu bar | The menu bar is full — macOS hides items silently when it runs out of room. Quit something else with a menu bar icon, or widen the bar by hiding another app's. |
| The wrong language comes out | Recognition language in the menu bar panel is set to something else. It is the language you speak, and it is not detected automatically. |
Anything not on this list: write to support@altypist.com. A person answers, and the answer usually ends up on this page.
Removing it
Drag Altypist from Applications to the Trash. The recognition models
live in ~/Library/Application Support/Altypist and are worth deleting too —
they are the multi-gigabyte part. Settings live in macOS's own preferences and take up
nothing. There is no account to close and no server-side copy of anything, because
nothing was ever uploaded.
Still deciding? The trial is 7 days, all features, no card and no account. Download Altypist, or read how it works under the hood first.